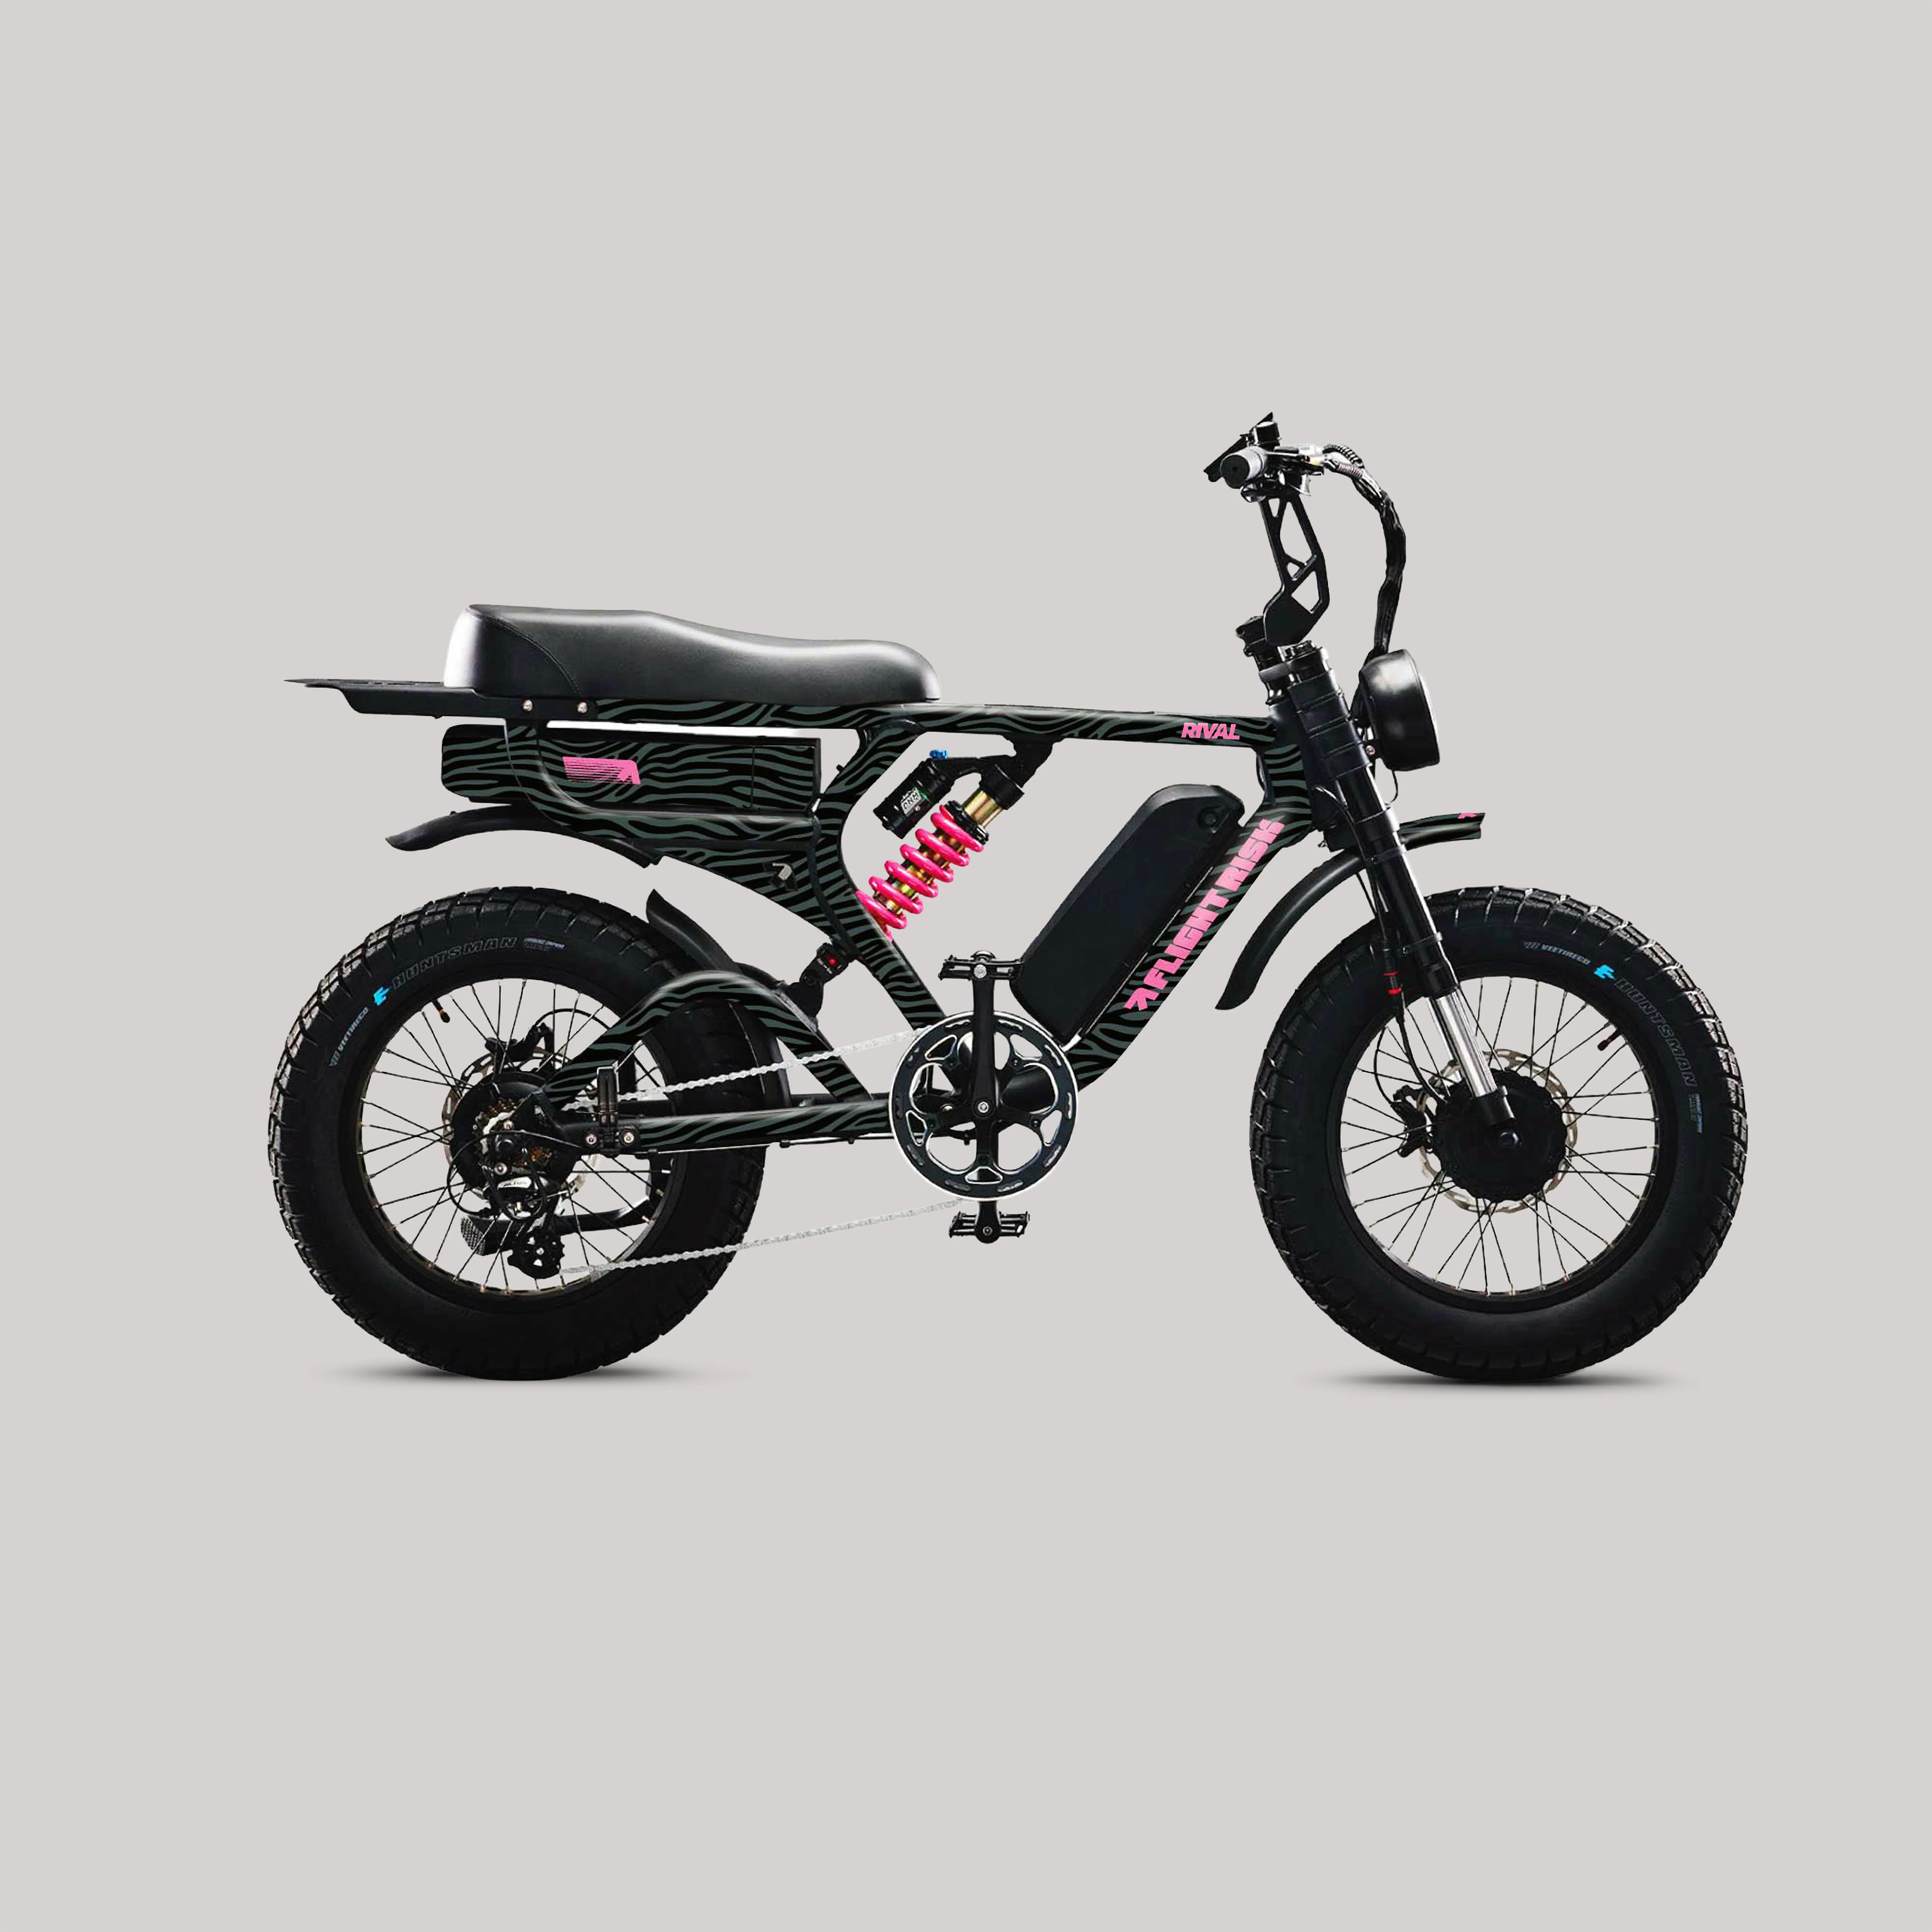
Rival Decal Zebra
You’ll Need
- Heat gun or hair dryer
- Applicator (squeegee)
- Clean rag or cloth
- Sharp knife or blade
- Alcohol-based cleaner
Step 1: Prep & Position
Clean the areas where the decal will be applied using an alcohol-based cleaner. Make sure the surface is completely dry and free from dust or grease.
Carefully peel back a small section of the decal backing. Line the decal up using the placement guide provided, then tack down one edge to hold it in place before committing.
Step 2: Apply
Once aligned, slowly peel the backing away through the centre while using the applicator to press the decal down as you go. Work gradually — don’t rush this part.
Mould the decal into curves or edges where needed. If air bubbles appear, gently lift the vinyl, release the air, and press back down. Use your thumb or applicator to smooth along edges and seams.
Line up any technical details, holes, or cut-outs as you apply, adjusting before fully sticking the decal down.
Step 3: Heat & Finish
Once the decal is fully applied, use a heat gun or hair dryer to gently heat the vinyl. This helps it conform to the bike and lock into place. Smooth all edges again while warm.
Recommended: Do a second light heat set the following morning to ensure the decal is fully bonded.
Product Information
Product Information
Shipping & Returns
Shipping & Returns
Description
You’ll Need
- Heat gun or hair dryer
- Applicator (squeegee)
- Clean rag or cloth
- Sharp knife or blade
- Alcohol-based cleaner
Step 1: Prep & Position
Clean the areas where the decal will be applied using an alcohol-based cleaner. Make sure the surface is completely dry and free from dust or grease.
Carefully peel back a small section of the decal backing. Line the decal up using the placement guide provided, then tack down one edge to hold it in place before committing.
Step 2: Apply
Once aligned, slowly peel the backing away through the centre while using the applicator to press the decal down as you go. Work gradually — don’t rush this part.
Mould the decal into curves or edges where needed. If air bubbles appear, gently lift the vinyl, release the air, and press back down. Use your thumb or applicator to smooth along edges and seams.
Line up any technical details, holes, or cut-outs as you apply, adjusting before fully sticking the decal down.
Step 3: Heat & Finish
Once the decal is fully applied, use a heat gun or hair dryer to gently heat the vinyl. This helps it conform to the bike and lock into place. Smooth all edges again while warm.
Recommended: Do a second light heat set the following morning to ensure the decal is fully bonded.